 DIY Like a Pro: Build a Beautiful Patio Bar This Summer

A beautiful backyard is precisely what the doctor ordered for this summer. Even though you may have covered the basics – lush green grass, beautiful plants, planters and pathways, you feel like there is something missing. Sure there is – an entertaining area to hide from the persistent summer sun and enjoy hanging out with friends and family, or simply reading a book. Unless you think you can plant a tree now and wait for it to grow, you will have to decide for a patio shade solution like canopy or pergola. Now, imagine your friends and yourself drinking cool cocktails on a warm summer day. Sounds like a plan, right? Here is how to make it come true by building your own patio bar.
The From-Scratch DIY
 If you’re very skillful and have some extra help, you can try making a concrete bar, but for now we’ll show you something that can be pulled off with beginner’s knowledge and some effort – a tiki bar. To get everything done, you’ll need driveway gravel, fence posts, deck boards, boards of various sizes, brackets, bolts, screws, plywood, wood stain and decorative theme objects (torches, lanterns, etc.). The whole process can be finished in 10 steps:
- Laying the foundation,
- Making the deck,
- Assembling the walls,
- Securing the posts,
- Working on the rafters,
- Framing the counter,
- Putting on the roof,
- Siding the structure, and
- Adding some finishing touches (decorative elements).
A Simpler Way
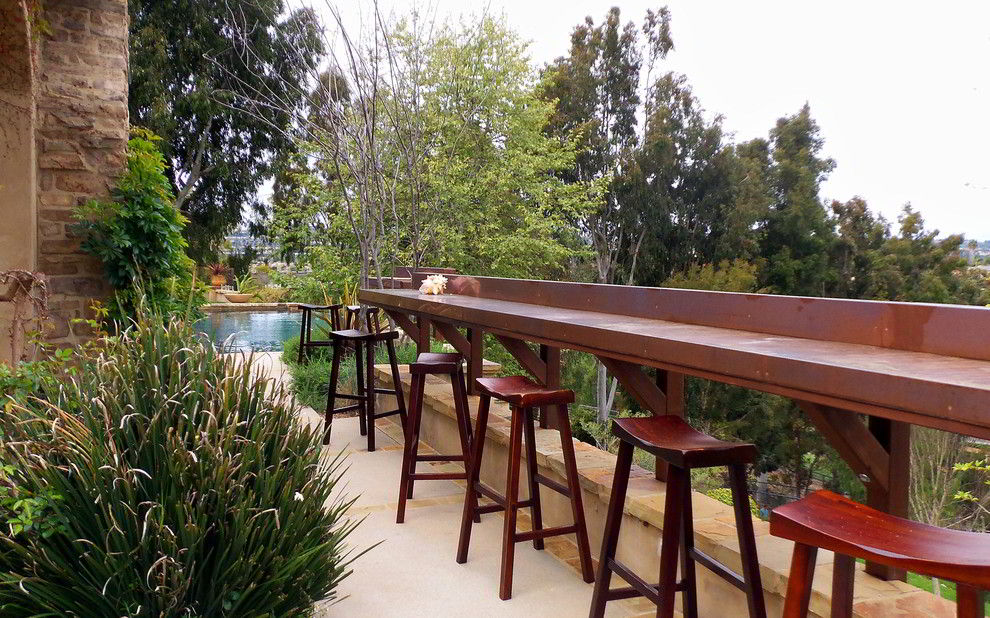 If you have a wooden deck, you can simply cut some pieces of treated lumber (about 18 inches – 45 cm long) and screw them into the railing of the deck. This may look pretty secure, but it’s better to be safe than sorry. So, take a couple of more pieces of treated wood, and screw it underneath (from the top down). Now your bar should be stable enough to hold your drinks and have fun. If you don’t like the rustic appeal of it, you can put a fresh coat of paint on it, or simply cover it with a tablecloth. For the final touches, decorate with lanterns, candles, vintage signs and patterned outdoor rugs.
Creative and Low-Cost DIY
 Still, the easiest, and by far the most affordable way to build your own bar is by up-cycling some items you already have. The results can even be the most appealing and interesting, since it will reflect a unique vibe and show off your creativity. Here are some ideas, but you should know that the possibilities are limited only by your imagination:
- Vintage door bar station – This may not be the bar where all your friends can keep their elbows leaned, but it can be very interesting, and provide a lot of space to keep the drinks on. For this project, you’ll need an old door, a couple of spindles, screws, and some old shelves or planks. Just secure the door with spindles, screw on shelves, and you’re done.
- Wine barrels bar – Bar, barrels – it all makes sense right? For this improvised bar, you’ll need two wine barrels (oak if possible), a large plank, and a thick piece of copper or an old counter for the bar top. Just arrange the barrels far enough from each other and place the counter on top.
- Picnic table bar – There is nothing better than a picnic table with plenty of drinks on it. Really, how about a picnic table with an in-built drink cooler. To make it happen, get a rain gutter of a similar size as your table, some angle brackets, gutter caps and screws. To get the job done fast, use cordless tools, such as hammer, drill and saw. Use them to remove a plank from the middle of the table (hammer), attach the gutter into that empty space with metal brackets, fill with ice, put the drinks to cool and enjoy yourself.
- Potting bench as an outdoor bar – A regular potting bench can be turned into a bar without any effort. Just give it a splash of color and put the drinks on it. If the bench has an in-built sink, even better, because then you can fill it up with ice and leave some bottles to cool.
Conclusion
There is nothing more left to do than relax and enjoy. Bottoms up!
Leave a Reply